background:$bgcolor;
Change the second line to:
background-image: url(ENTER IMAGE CODE);
You will delete “ENTER IMAGE CODE” and replace it with your background image code. It should look something like this:
background-image: url(http://photbucket.com/albums/ww26/missiezee/;
You can preview your background to see if you like it. If so, click Save Template.

This is how it should look:

Click OK. You should now see a white box on your screen. Go ahead and maximize the box by clicking the small square on the upper right hand corner of the box.


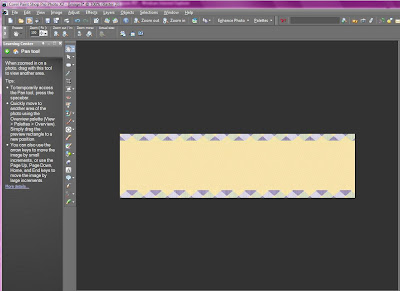
Next we need a lighter color background. I’ve chosen a plain yellow one. Follow the same steps as the previous background but shrink it a little smaller. We want it to be layered on top of the other background.
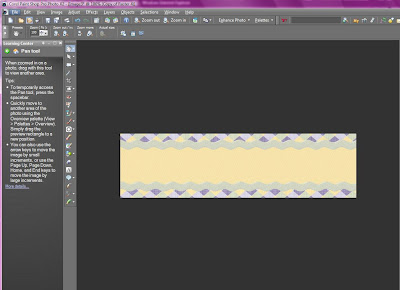
Now let’s add some ribbon. I think I’ll use green ric rac. Open up your image. Click Copy and Paste a New Layer. We’ll need to resize this too just like the backgrounds.
We need two of strands of ric rac, so the easiest way to do that is to duplicate it. Duplicating a picture means it is an exact replica of the picture, without having to drag or resize the picture. Just rick click on the image you want to duplicate and click Duplicate. It will add a second image on top of the previous image. Take the arrow tool and drag down to move the duplicated picture.
Now I’m going to add my little girl. I’ll do it the same way I added the other images.

I had a little fun with her and rotated the picture a little to the left. You can rotate your pictures by taking your arrow tool and clicking on the line that is inside your picture. When two half circle arrows appear, click and turn your picture to the left and right.
Now let’s add some text. Underneath the arrow tool on the side toolbar is a white box with an A in it. Click on that box and it will show a cross with an A. Click on the spot where you want your text to be on your header and it will open up your text box. Type in your text.

There are several things wrong with my text. First the color. To change the color, highlight the text in your box. On the upper right hand side under materials you will see the color box. Click on the color you want your text to be. Next, on the upper left hand side you will see the font & size. Click the font and size you want your text to be, and then Apply. I used Freehand591 BT for my font. Here is how it looks so far:


 That’s it. Your header is complete!

Ta Da! Now your blog is looking good 🙂 One thing , the header isn’t exactly centered. This is where you might need to go back to your blog dimensions and tweak them a little to make your blog centered just right.
Did you follow along and make your own header? If so, leave me a comment with a link to your brand spanking new header. I’d love to see it.
Next week, in our final lesson, we’ll add a few navigation buttons to the top of our blog. Enjoy your new header and see you next week!